How to Start a Blog (in a Weekend)
Table of Contents
Why Start a Blog?
I started my blog for three reasons: to show my work and document my progress, to build authority in my field, and because writing is way easier than creating videos or podcasts.
There is a significant potential for people to showcase their work, as one can learn a great deal from a beginner’s process. There are so many ways to stumble upon new topics in ways that experts don’t remember.
Getting It Running for Free
On Friday, I got my first website live in 5 minutes using GitHub Pages Quickstart. You just have to create a new repo with the name <username>.github.io and set it up with Settings > Pages > “Build and deployment”, under “Branch”, use the branch dropdown menu and select “GitHub Action”. I googled my name and there it was: marine-raimbault.github.io, my working site, for free.
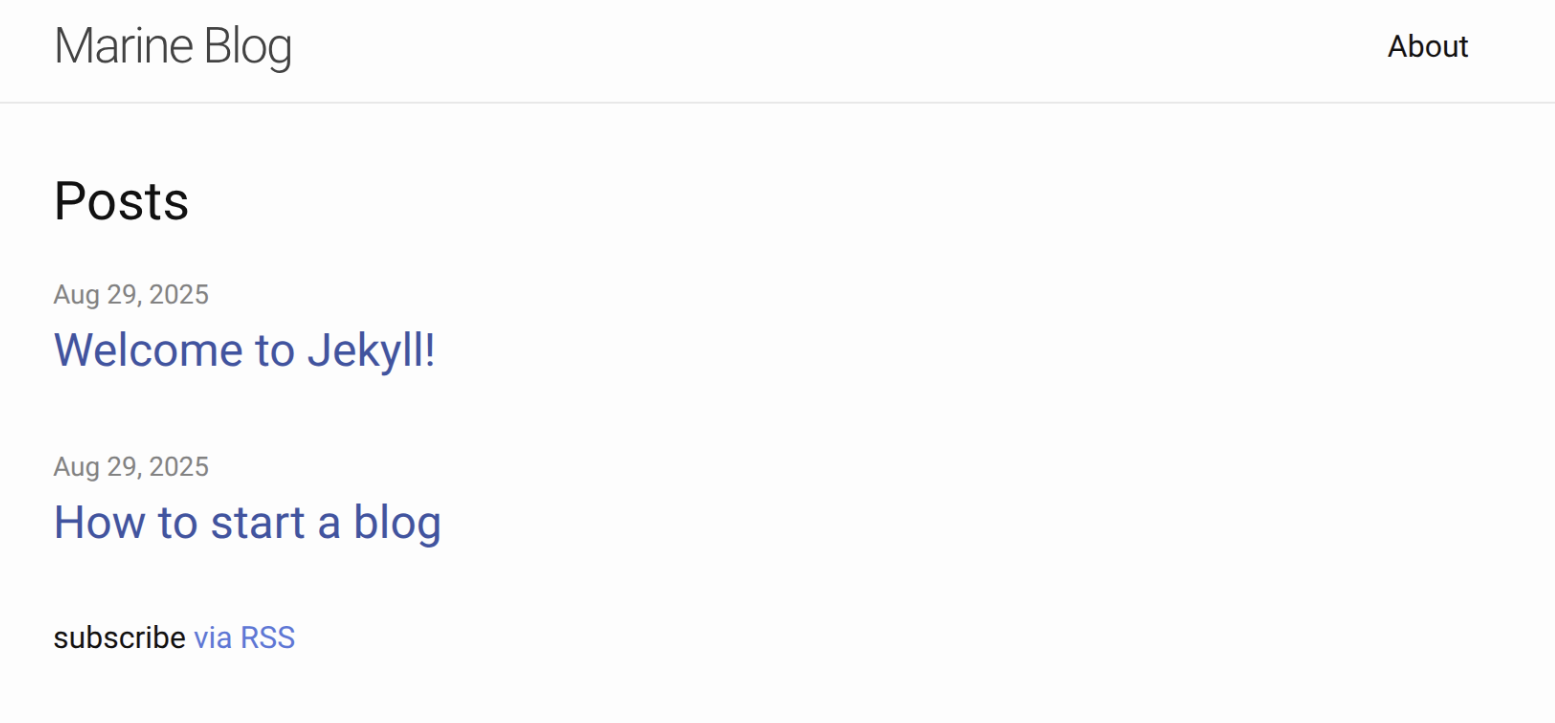
It was empty, however, so I checked this explanation to understand what I had to do. After tweaking configs and uploading a markdown file, I had my first post. I didn’t love the white layout or impersonal feel, but I’d reached my first goal: something up and running, ready to iterate upon.
The same day, I wanted to run it locally to preview posts before publishing. That is when I learned GitHub Pages uses Jekyll - a static site generator written in Ruby - under the hood. I used the command bundle exec jekyll serve as described in the Jekyll docs to serve it locally.
On Sunday, I tried running Jekyll on my personal laptop, but hit errors related to a missing dependency, and bundler install (bundler is Ruby’s package manager) could not automatically fix it. Instead of debugging my broken setup, I looked for alternatives: If I had to put effort into it anyway, I might as well deliberately choose the tool.
This led me to Hugo - a static site generator written in Go that is faster than Jekyll. There are many alternatives (Eleventy, Astro Gatsby, Next.js), but Hugo had the speed and flexibility I wanted. If you’re starting fresh: try Hugo for speed, Eleventy for simplicity, or stick with Jekyll if you don’t want to change GitHub’s Pages defaults.
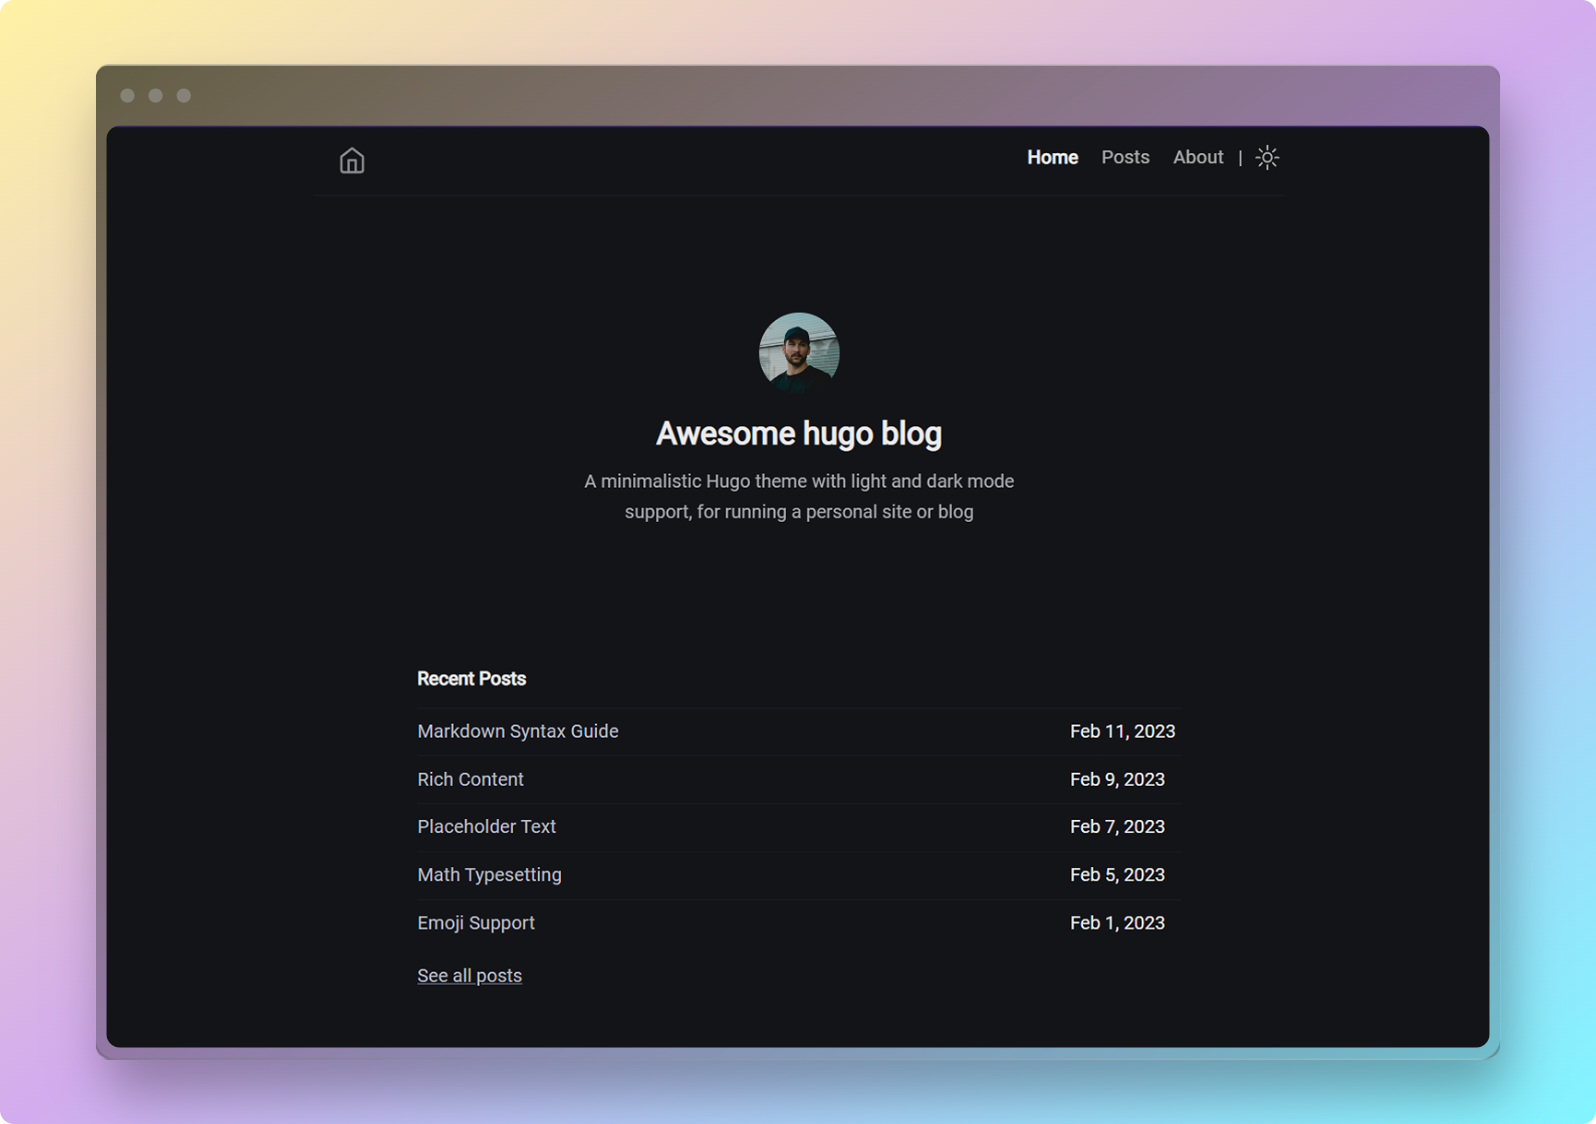
I followed Hugo’s official docs, but had issues understanding how the themes work. You can not ignore the themes because they are surprisingly what runs Hugo. However, the Hugo Blog Awesome theme I wanted to install did not work out of the box: When starting, there was only a blank page. I find it strange that I had to copy parts of the example’s theme’s website to make it work (I got many errors trying to copy the hugo.toml from the theme’s example’s site into my own: you have to make sure that nothing is double).
Steps to reproduce
- Install Hugo
sudo apt install hugo(or follow the official install guide)
-
Choose a theme from Hugo themes. (Tip: check that the theme is actively maintained and has good docs)
-
Follow this 10-minute video tutorial. In short, you will:
-
Create two repos:
-
blog/→ source files (your content) -
<username>.github.io/→ published site
-
-
Configure
blog/to generate the static site into thepublic/folder, which is a git submodule pointing to<username>.github.io.
-
Create two repos:
Development setup
- Run Hugo in development mode (renders drafts too):
hugo serve -D- Create a new post:
hugo new posts/name-of-post.mdBuild & Deploy
- Generate the site (replace with your theme name):
hugo -t hugo-blog-awesome-
Commit and push changes to both repos:
-
Commit to your
blog/repo -
Commit & push the
public/submodule (<username>.github.io)
-
Commit to your
-
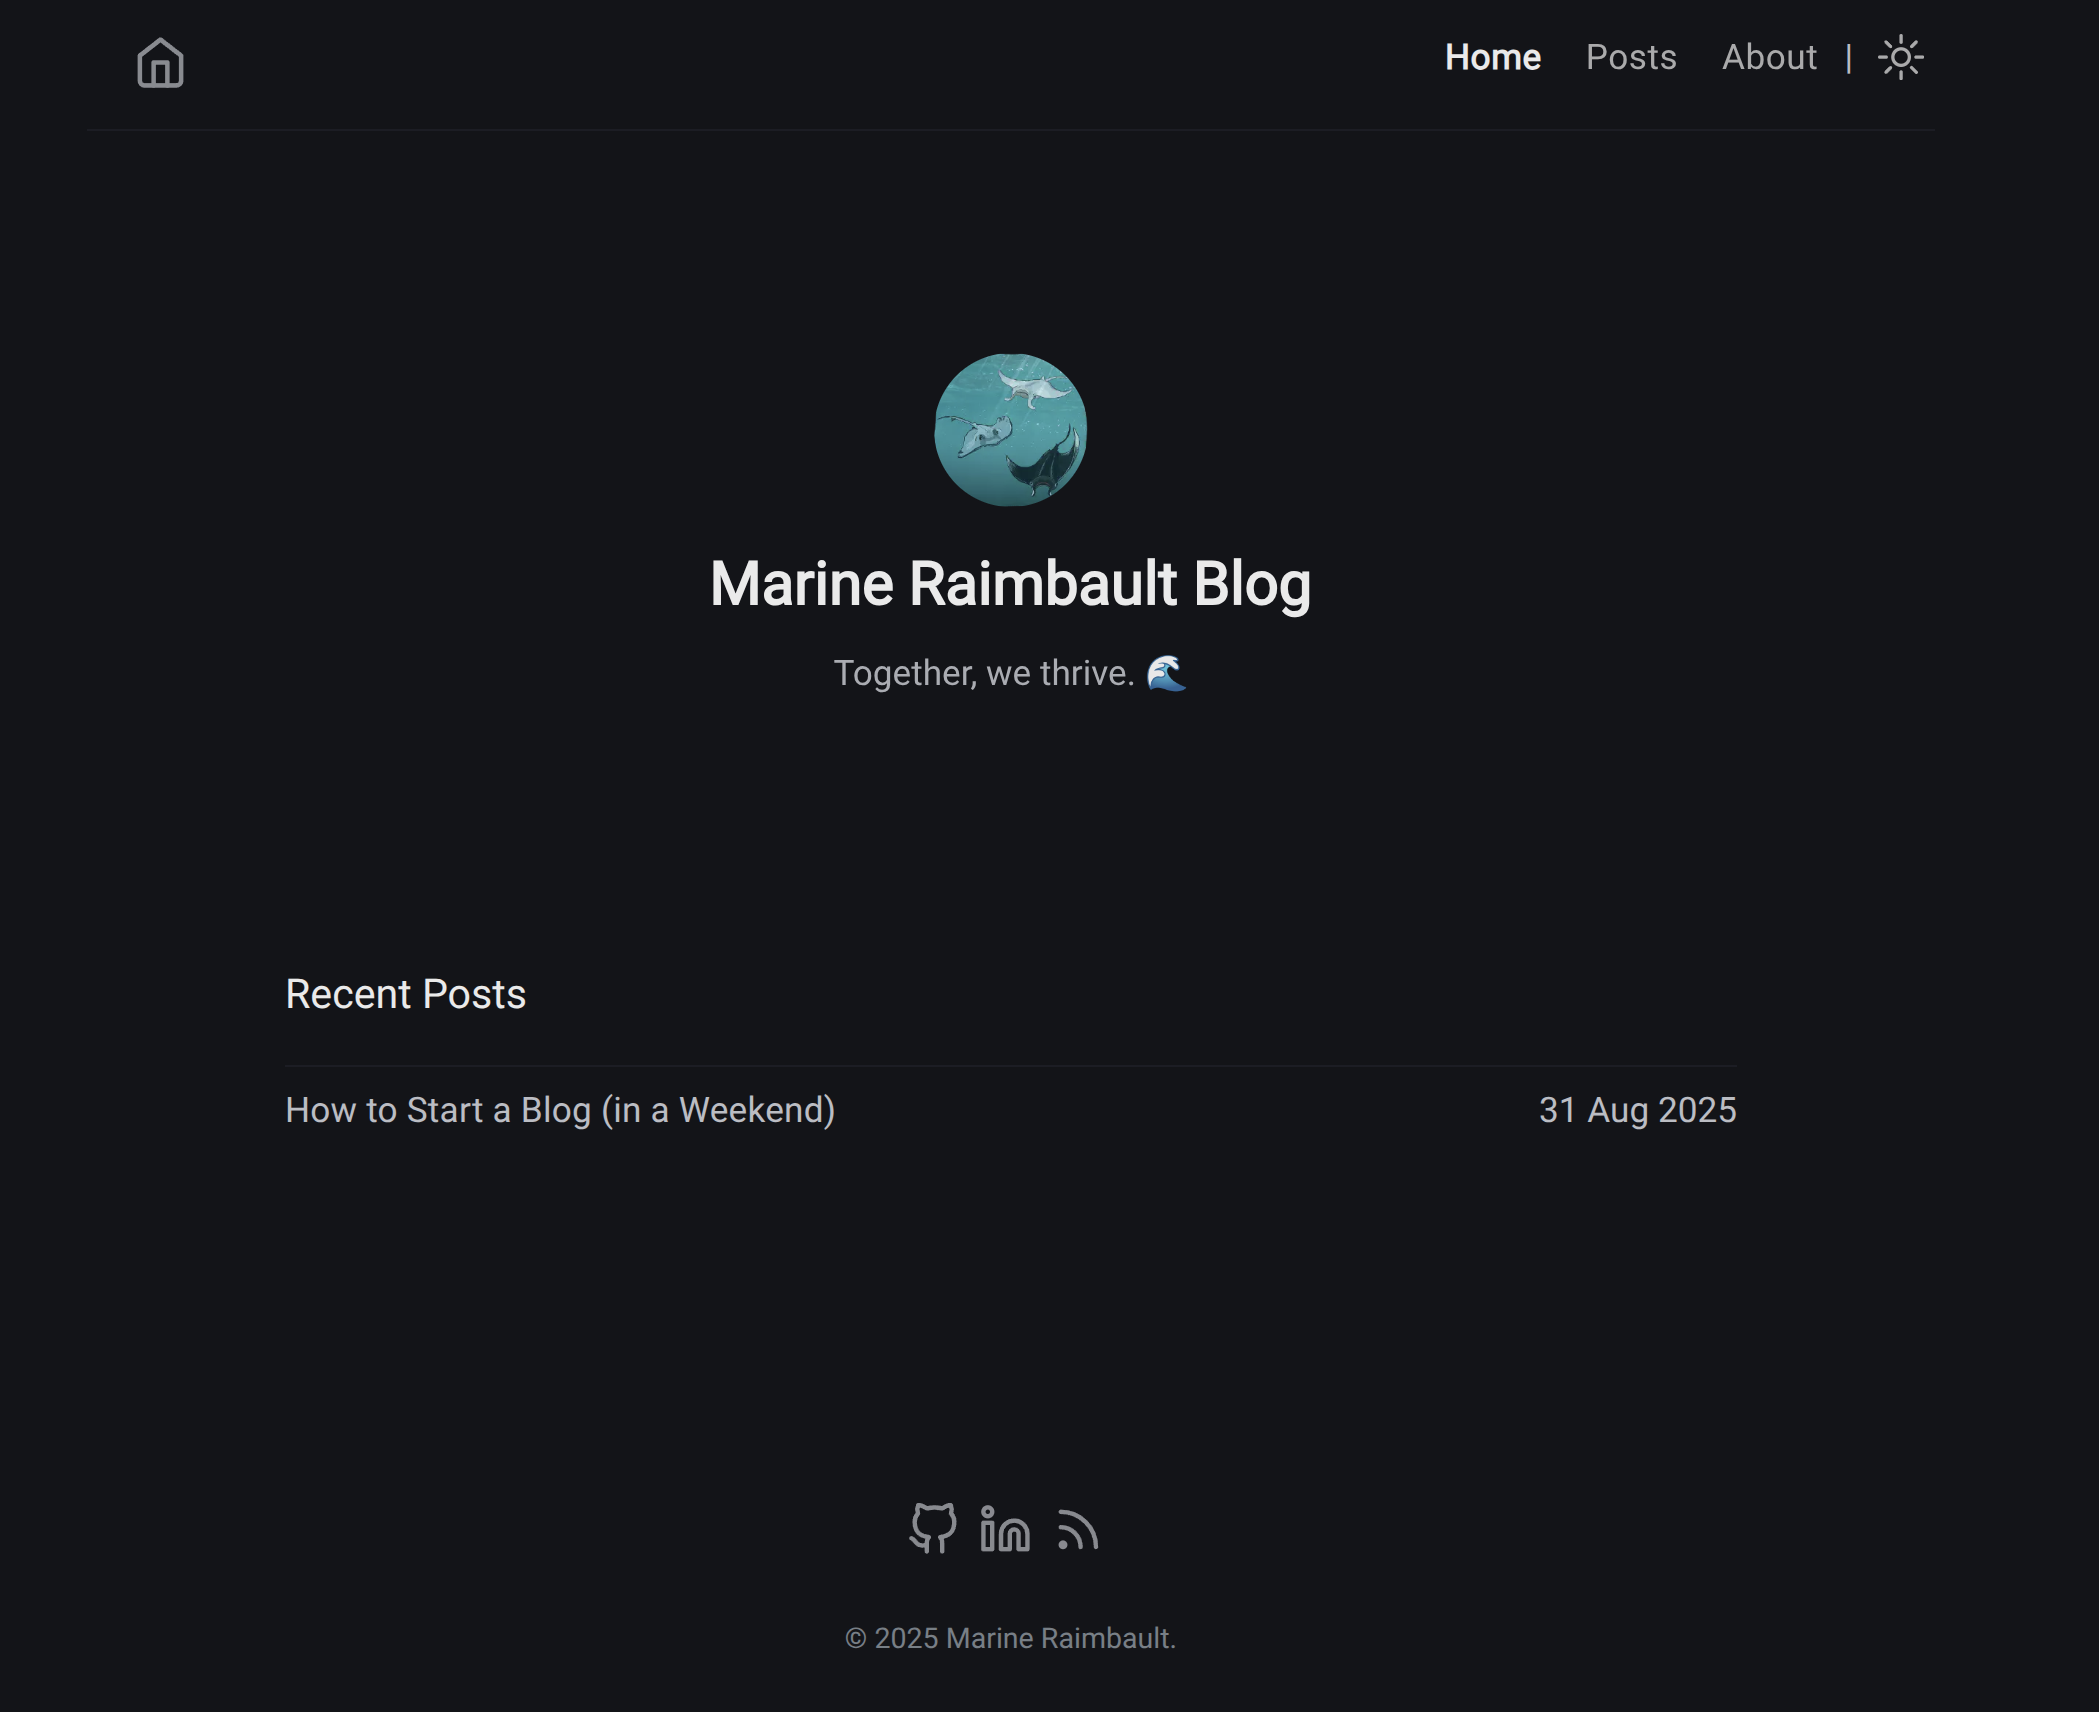
Open your site at:
https://<<username>>.github.io/And here you go:
What I Learned Writing This Post
Two mistakes wasted my time:
- Splitting focus - I wrote while troubleshooting setup problems. Next time: finish technical setup first.
- Being stubborn - I pieced together multiple docs instead of finding one working guide.
But once the setup worked, writing was straightforward:
- Start with a clear purpose
- Outline → break into short sections
- Keep paragraphs under 80 words
- Add images and links
- Get feedback and refine
My Writing Process
I created this checklist inspired by The Checklist Manifesto:
**Before:**
- [ ] Define your purpose
- [ ] Draft a simple outline
- [ ] Complete technical setup

**During:**
- [ ] Time yourself: max 25 minutes per section
- [ ] New heading every 500 words
- [ ] Write like you talk: clear, direct, friendly
- [ ] Add 1 image per section

**After:**
- [ ] Aim for 2500+ words total
- [ ] Max 80 words per paragraph
- [ ] Credit sources with links
- [ ] Proofread for clarity
- [ ] End with a clear next step
My Current Setup
- Ideas: Google Keep for capturing thoughts on phone and computer
- Writing: VS Code with Hugo running locally to test rendering
- Publishing: Hugo + GitHub Pages for free hosting
Start Today
Your blog doesn’t need to be perfect on the first try! You can have a working blog in one weekend - (or less, hopefully, you learn from my mistakes). Pick a platform, write your first post, and iterate as you go.
Published beats perfect every time. Start blogging!